People who use food dehydrators to make their own dried fruit, jerky, and other snacks have found aluminum foil helpful in preventing sticking and simplifying cleanup. But can you put aluminum foil in a dehydrator for these purposes?
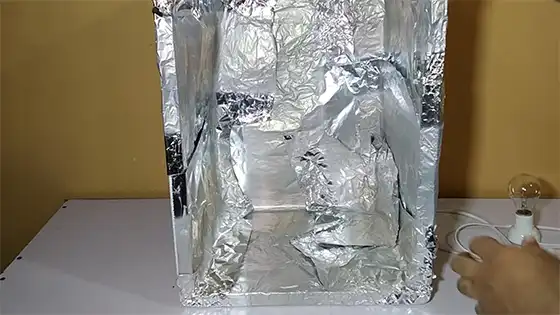
When placed on the dehydrator trays before adding food, the aluminum foil provides a non-stick surface that can simplify removal. Also, foil can help to reflect heat upward, ensuring that food dries evenly on all sides. But it may delay the drying process a bit due to how foil conducts heat.
While some recommend using parchment paper instead of aluminum foil, experts find that foil is more durable and practical. Find out how to safely dehydrate food with aluminum foil and stack food with aluminum foil by reading the following article.
How Can You Put Aluminum Foil in a Dehydrator Safely?
Food-grade aluminum foil is a versatile kitchen staple used for various purposes. Dehydrating foods with this material is also popular, as it locks in moisture and prevents excess evaporation.
Although aluminum foil may be helpful when dehydrating foods, it must be used with caution, as the high heat of the food dehydrator can cause the foil to release harmful chemicals. You can follow these steps to use aluminum foil in your dehydrator safely:
Step 01. Make a Mark on the Foil Outside of the Tray
It’s best to mark the foil outside by measuring the dehydrator tray while using foil in a dehydrator. This helps you know where to put the food so that it doesn’t touch the sides of the dehydrator, which can cause uneven drying. Dehydrator trays vary in size, so measure your foil before you cut it to size.
Lay the aluminum foil over the trays and gently press it down so that it’s flush with the edges. Make sure there are no creases or wrinkles in the foil, as this can cause hot spots and uneven drying. Use a sharp object to punch vents through the top layer of foil.
These vents circulate hot air, preventing moisture from accumulating inside the dehydrator. If you’re using a round food dehydrator, make vents around each tray’s perimeter so that air can circulate evenly.
Step 02. Cut the Aluminum Foil Outside of the Line
A sharp knife is essential for cutting the foil, but you must also ensure that the blade is at the correct angle. Start by holding the foil, so the roll is perpendicular to the cutting board. Then, place the blade at a 45-degree angle and make a single, smooth cut. If the blade is too dull or the angle is off, you will end up with jagged edges.
You can also use a hole punch to create perfect circles or shapes. Just cut slowly and carefully, so you don’t accidentally cut yourself or damage the foil.
Step 03. Cut Inside the Line for a Snug Fit
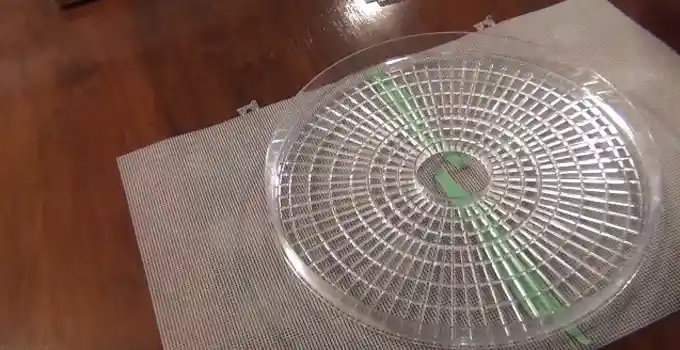
To ensure that the aluminum foil fits snugly inside the dehydrator, begin by cutting a piece slightly smaller than the circumference of the food dehydrator. Once you have cut the aluminum foil to size, gently press it into the dehydrator. If there are any creases or folds in the aluminum foil, use your fingers to smooth them out.
You should also make sure that the aluminum foil does not overlap at any point. Once you have inserted the aluminum foil into the dehydrator, you can use a knife or scissors to trim away any excess. This will help create an airtight seal, ensuring the dehydrator works effectively.
Step 04. Place Your Items Onto the Foil
After you have cut the foil to size and inserted it into the dehydrator, you can begin adding your food. Ensure the food is evenly spaced on the foil, so it dries evenly. You can punch holes in the foil to create vents if dehydrating smaller items, such as herbs or spices. This will allow hot air to circulate and prevent moisture from building up.
If you’re dehydrating more oversized items, such as fruits or vegetables, you can simply place them on the foil without punching vents. Regardless, you may need to cut the food into smaller pieces, so it dries evenly.
When using aluminum foil in a food dehydrator, make sure to tightly seal the edges of the foil to prevent any gaps. Also, you can make small holes in the top of the aluminum foil to allow air to circulate.
How Long Does it Take to Dehydrate Fruit With Aluminum Foil?

Dehydrating fruits with food-grade aluminum foil is a process that may take longer than other methods, but the results are worth the wait. Depending on the dehydrator’s type, size, and temperature, the actual time will vary, but a good guideline is to expect the process to take anywhere from four to eight hours longer than average.
So if you’re planning on dehydrating fruit for a snack or meal, give yourself plenty of time. And while the aluminum foil is not necessary for dehydrating fruit, it can help to speed up the drying process. But the drying time will depend on the thickness of the fruit slices, with thinner slices requiring less time to dehydrate.
Should You Rotate Trays in a Dehydrator With Aluminum Foil?
When using a dehydrator, it is important to rotate the location of the trays during dehydration. This is because the trays nearest the bottom are exposed to the hottest, driest air, and food on them will dry more rapidly. By rotating the trays, you can ensure that all the food dries evenly.
If you use aluminum foil, ensure it does not come into contact with the heating element, as this can cause a fire. When dehydrating food, be sure to monitor the temperature carefully. The recommended temperature for most foods is approximately 120 to 140 degrees Fahrenheit.
Also, if you use aluminum foil, place it on a shiny side. The shiny side reflects more light and heat, which will help the food to dry more evenly. If you are using a dehydrator with a fan, place the trays so that the fan is blowing across them. This will help to circulate the air and prevent hot spots from forming.
How Often Do You Rotate Trays on a Dehydrator With Aluminum Foil?

When dehydrating fruits or vegetables, rotating the trays every few hours is essential to ensure even drying. If the food is not rotated, it can stick to the foil and become difficult to remove. Also, rotating the trays helps to prevent overcooking, as some areas of the food will dry faster than others.
If you’re dehydrating something with high water content, you’ll need to rotate the trays more frequently than if you’re draining something like beef jerky, which has lower water content.
How Do You Keep Fruit from Sticking in a Dehydrator Trays With Aluminum Foil?
Dehydrators are a great way to preserve fruit, but one common problem is that the fruit can stick to the trays, making it difficult to remove. One option is to line the trays with aluminum foil. This will create a barrier between the fruit and the tray, making it less likely for the fruit to stick. Plus, it makes cleanup a breeze.
You’ll still want to use a non-stick cooking spray on aluminum foil to prevent sticking. When lining the trays with foil, smooth it out, so there are no wrinkles or creases. The fruit may still stick in those areas. Aluminum foil is an easy way to keep fruit in food dehydrator trays.
Do You Need Any Kind of Wrap Sheets for Dehydrating Food?
Dehydrating something oily can require scraping the ingredients from the dehydrator’s trays. To dehydrate oily food effectively, you must use the proper wrap dehydrator sheets for drying food.
Using these methods will not damage the food and the dehydrator trays, but it will take much longer for the dehydrating batch to dry.
Plastic wrap, wax paper, and aluminum foil are all materials that definitely restrict the airflow of your machine and prevent it from working as efficiently as possible, but if you want your dehydrator to function at its best, use aluminum foil designed explicitly for dehydrating food.
The food-grade aluminum foil does not have a non-stick coating, which will cause the ingredients to stick and will require a lot of extra effort to remove. Consequently, the aluminum foil should only be used when dehydrating ingredients that rarely adhere to the surface they are dehydrated on.
Do You Have to Use All the Trays in a Dehydrator While Using Aluminum Foil?
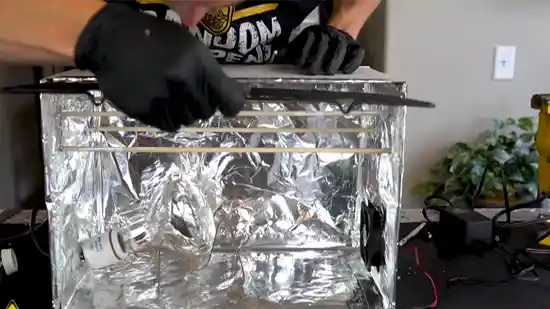
Though it may seem counterintuitive, it is best to avoid using all of the trays when using aluminum foil in a food dehydrator. Instead, try to leave a small gap between each piece of foil. This will allow for better airflow and prevent the foil from directly contacting the heating element, which could cause it to melt.
Further, removing the trays is unnecessary in most cases as the foil will deflect any heat away from them. Aluminum foil reflects and amplifies the heat, helping the food to dehydrate more evenly. Leaving a few empty trays will help ensure the dehydrator does not overheat.
How to Stack Food that Already Stuck to the Trays with Aluminum Foil?
It can be challenging to keep the food from sticking together when drying multiple items at once in a dehydrator.
One way to solve this problem is to stack the food attached to the trays with aluminum foil. By doing this, you will prevent the food from sticking to each other and allow you to dry multiple items at once.
To stack the food, simply place a piece of aluminum foil between each layer of food. This will help the food not stick together and make it easier to cook multiple items at once.
Is Aluminum Foil Worth Using in a Food Dehydrator?
Aluminum foil is an excellent conductor of heat, which can help foods dehydrate quickly and evenly. While aluminum foil is not essential for dehydrating food, it does have some benefits that make it worth using.
This foil is also lightweight and inexpensive, making it a good option for those on a budget. It helps to reflect heat, which can speed up the drying process. Also, it can help to prevent sticking and caramelization, making it easier to remove dried foods from the dehydrator.
Also, foil is often used to line dehydrator trays, which helps to prevent sticking and makes cleanup a breeze. Overall, aluminum foil is a helpful tool for dehydrating food and is worth using if you have it on hand.
Topics of Discussion:


