How to Heat Milk on Stove | 6 Steps to Follow
You may have encountered the challenge of heating milk on the stove without it scalding or forming a skin on top. The art of heating milk on the stove is worthwhile whether you are making hot chocolate or incorporating it into a savory dish. But how do you do it without the risk of scorching or overcooking the milk?
Choose a heavy-bottomed non-stick saucepan or dedicated milk saucepan to prevent scorching. Maintain a low heat and use a low flame to prevent the milk from burning. After that, stir the milk gently and continuously to prevent the formation of skin on the surface and solids from sticking to the bottom of the pan.
Today, I’ll discuss how to heat milk without scalding or forming a skin properly. So, let’s explore some tips and methods to ensure your milk is heated.
6 Steps to Follow to Heat Milk on a Stove
To heat milk on the stove, choose the right pan for the job and follow these steps:
- Choose the right pan
- Set the appropriate temperature
- Exercise patience and stirring
- Temperature testing
- Monitoring and adjusting
- Timely removal and cooling
Step 1: Choose the Right Pan
Choosing the appropriate pan for heating milk on the stove ensures even heat distribution and prevents scorching. Opt for a small stovetop pot or a dedicated milk saucepan with a thick bottom to mitigate scorching. Heavy-bottomed saucepans or non-stick pots are recommended for even heat distribution.
Ensure that the pan has enough capacity to accommodate the quantity of milk without risking overflow. A pot with a thick bottom helps to prevent hot spots that could lead to scorching, while non-stick surfaces make it easier to clean the pan afterward.
Step 2: Set the Appropriate Temperature
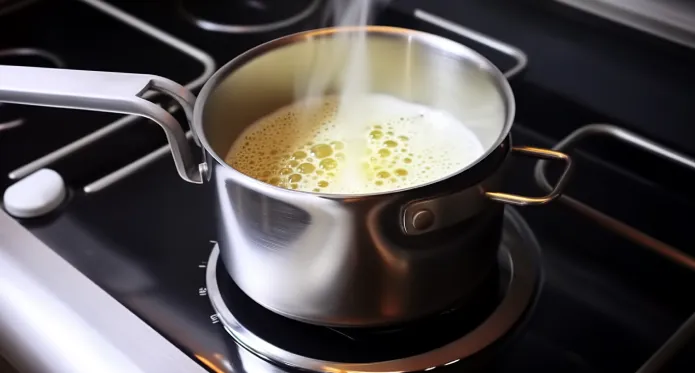
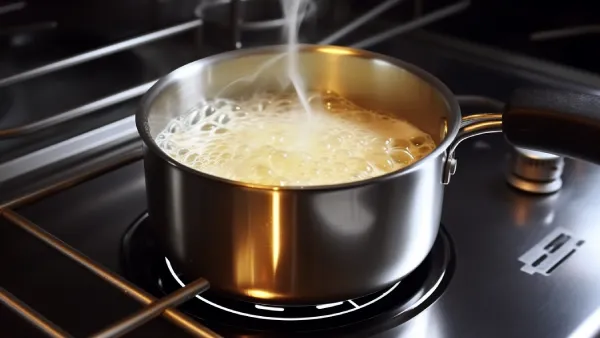
When heating milk on the stove, set the right temperature to avoid scorching and get a smooth and creamy texture. Maintaining a low heat is essential to prevent the milk from bubbling over and burning.
Use a low flame to warm the milk gently, exercising patience for a slower cooking process. Aim for 150°F (65°C) to attain the desired smooth and creamy texture without compromising milk quality.
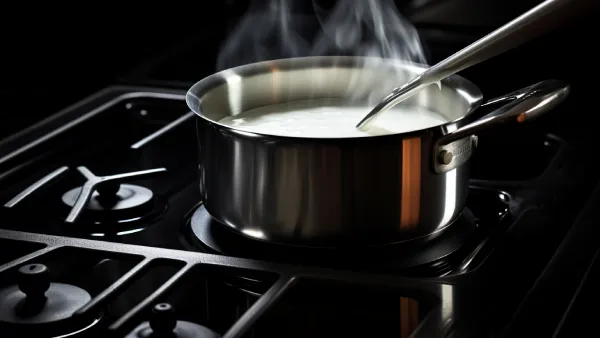
Step 3: Exercise Patience and Stirring
Patience is key, as raising the heat to expedite the process can lead to uneven heating and potentially scorching the milk. Consistent stirring is crucial to avoid skin forming on the milk’s surface and any solids sticking to the base of the pan.
The stirring motion should be gentle but continuous, ensuring the milk is uniformly heated. This process not only prevents the milk from scorching but also helps in maintaining its smooth texture.
Step 4: Temperature Testing
As you continue heating the milk on the stove, test its temperature to ensure it reaches the optimal warmth without risking curdling or compromising its quality.
Using a teaspoon, carefully take a small milk sample and test it to ensure it’s not too hot for consumption. Strike the right temperature balance. Overheating the milk can lead to curdling and negatively affect its overall quality.
By testing the temperature, you can ensure that the milk is heated to the ideal warmth for your specific use, whether for a recipe or simply to enjoy a warm drink.
Step 5: Monitoring and Adjusting
Ensure that the heat is closely monitored and that necessary adjustments are made to maintain a gentle simmer while heating milk on the stove.
As the milk heats, watch for small bubbles forming around the edges of the pot, indicating that it’s nearing the boiling point. If the milk starts to boil, immediately reduce the heat to maintain a gentle simmer.
Continuously adjusting the heat will prevent the milk from reaching high temperatures that could potentially compromise its taste and texture. Keep a watchful eye on the milk throughout the heating process to avoid undesirable outcomes.
Step 6: Timely Removal and Cooling
After reaching the desired temperature, remove the boiled milk from the heat source as soon as possible to prevent curdling. This is crucial in maintaining the milk’s smooth texture.
Once removed from the heat, place the pot or milk container in a shallow cold water bath to expedite the cooling process. Stirring the milk gently during the cooling process can help distribute the heat evenly and prevent skin from forming on the surface.
Is it OK to heat milk on the stove?
If you’re heating milk for a recipe or consumption, use a small pot with low heat so it doesn’t boil over and is completely ok. Heating milk on the stove is generally okay if it’s done carefully and at a low temperature. Keep a close eye on the milk and stir it frequently to prevent scorching or forming skin on the top.
Heating milk on the stove allows for better control over the temperature than a microwave, which can sometimes lead to uneven heating.
However, avoid overheating the milk, which can alter the taste and texture. Overheated milk can have a burnt flavor and grainy consistency, which isn’t great for most recipes.
How long do you heat milk on the stove for hot chocolate?
When heating milk over the stove for chocolate, start with 1 minute for a standard mug of milk, stirring quickly and checking the temperature by dipping a finger in (be cautious). After the initial minute, continue heating the milk in 15-second increments, stirring and checking the temperature after each interval.
The total heating time for hot chocolate milk will depend on the initial temperature of the milk, the desired final temperature, and the wattage of your stove. For most standard mugs of milk, achieving the ideal temperature for hot chocolate typically takes around 2-3 minutes.
However, monitor the milk closely to prevent overheating or scalding. Overheated milk can develop an unpleasant taste and texture, so it’s best to proceed cautiously.
What is the safest way to heat milk on a stove?
To heat milk on a stove safely, use the double-boiler method to get the right temperature without scorching or overheating it.
The double-boiler method involves placing the milk in the top of a double boiler or a heat-proof bowl set over a saucepan of simmering water. Heat the milk just until bubbles form around the edge and steam begins to rise from the milk.
This gentle heating process helps to prevent the milk from approaching high temperatures too quickly, reducing the risk of scalding or burning. It also allows for more even heat distribution, which is particularly important when heating milk to be used in delicate recipes such as custards or sauces.
Master the Art of Heating Milk: The Key to Perfect Hot Chocolate and More
Heating milk on the stove is a safe and effective method for preparing hot beverages such as hot chocolate. It’s important to heat the milk slowly and stir constantly to prevent scorching or boiling over.
Following these major DIY steps ensures that your heated milk is a perfect base for hot chocolate, custards, or any other delightful dish that calls for this versatile ingredient. Always remember that patience, attention to detail, and the right equipment are your allies in achieving the perfect cup of heated milk.