Any item that comes into contact with raw meat has to be properly and thoroughly cleaned before it is used again. Otherwise, you are putting you, your family members, and your friends at risk of getting sick.
Meat grinders in particular need to be cleaned the right way because there are so many nooks and crannies there that can serve as inviting spaces to bacteria. After reading this article, you’ll learn how to clean a meat grinder correctly and with that knowledge in hand, you will be able to keep using that helpful machine as often as you desire.
How to Clean a Meat Grinder in 6 Steps?

Step 1: Clean the Meat Grinder Right Away
One of the reasons why cleaning a meat grinder can be a difficult undertaking is because people don’t do it right away. By allowing the residue of the meat you just processed to stay in the grinder, you are effectively allowing it to grow stale and become harder to remove. Start the cleaning process immediately and you can avoid that problem.
Step 2: Use Pieces of Bread as Makeshift Grease Sponges
Grease Is A Byproduct Of Grinding Meat. To Remove At Least Some Of It From The Meat Grinder, You Can Feed Some Pieces Of Bread Through The Machine. The Pieces Of Bread Will Hopefully Absorb The Grease Inside The Grinder. Doing This Could Help You Cut Down Significantly On Your Cleanup Time Later On.
Step 3: Take Apart the Meat Grinder
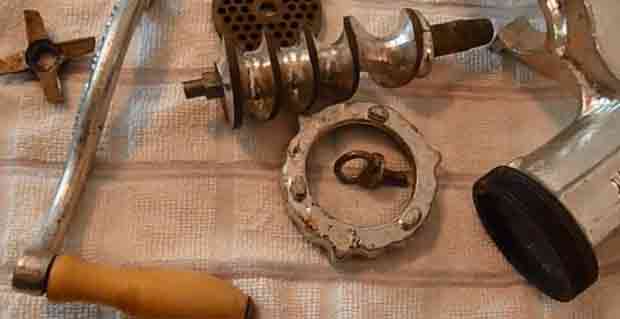
With at least some of the grease removed from the meat grinder, you can now proceed to disassembling the machine. This is a fairly straightforward process and by the end of it, you should have certain parts on your table. Namely, you should have the blade, the cover, the feeding tube, the plate, and the screws on hand following the disassembly process.
Step 4: Allow the Parts of the Meat Grinder to Soak in Some Soapy Water

Grab a bucket and fill it with some warm water as well as whichever detergent you use for cleaning your dishes. Now, what you want to do next is to pick up all the parts of the grinder that you previously disassembled and then place them into the bucket with the warm water and the detergent.
You don’t have to wash the parts just yet. Instead, you can let them hang around for a bit in the water until the grease and other particles clinging to the parts of the grinder are dislodged.
Also, if you happen to have an electric grinder, avoid soaking any of the motorized parts.
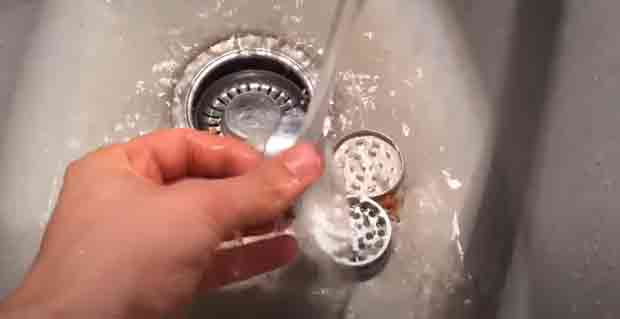
Step 5: Wash the Disassembled Parts of the Meat Grinder
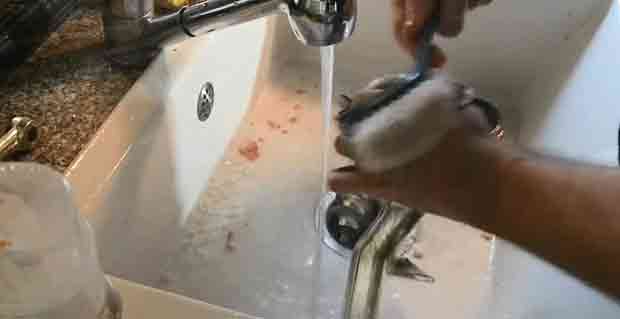
Now that the parts of the grinder have been able to soak in the soapy mixture, you can go ahead and start washing them. A sponge will work well for this task. Simply wash them as you would other items that are used for food preparation. Just be extra careful when handling the blade or you may cut yourself.
Step 6: Allow the Parts to Completely Dry
Wipe down all the disassembled parts of the meat grinder after washing them, but don’t put the machine back together just yet. Instead, take the parts and place them on a wire rack so that they can dry completely. Let them dry until you can’t see any of traces of water.
How to Properly Store Your Meat Grinder in 3 Steps?
Step 1: Lubricate the Parts of the Meat Grinder
Go to the store and get some food-grade mineral oil as well as a spray bottle. Pour the oil into the spray bottle and begin spraying all the non-electric metal parts of the meat grinder. Doing this will discourage any rust buildup on the parts of the grinder even when the machine is not used for an extended period of time.
Step 2: Separately Store the Parts of the Grinder into Individual Bags
With the parts cleaned up and oiled, you can now store them in individual bags or cases. Storing the parts this way will protect them from any unnecessary damage. You can also go ahead and put some rice in the bags to absorb any leftover moisture.
Step 3: Keep the Parts of the Grinder in a Cool Place
Ideally, you’ll be able to store the disassembled parts of your meat grinder in a cool place such as the freezer. Keeping them cold will improve the performance of the individual parts. If there’s not enough space in your freezer, you can also store the parts in a dry spot in your home.
What to Do to Make Future Cleanups Easier in 3 Steps?

Step 1: Only Grind Cold Cuts of Meat
You may have already noticed this before, but room temperature cuts of meat tend to leave a mess in the grinder. If you want to make cleaning up the grinder less of a hassle in the future, you can freeze the cuts of meat first before you grind them.
Step 2: Remove the Sinew from the Meat Before Grinding
Sinew is not pleasant to deal with when you’re eating meat, and well, the grinder is not too fond of it either. Sinew strands can easily clog up the grinder and even dull the blades. Take the extra time to remove the sinew from the pieces of meat you are looking to grind if you want to make cleaning up afterward an easier process.
Step 3: Maintain the Blade of the Grinder
The blade of the grinder itself could be the reason why the interior components get so messy. If the blade isn’t sharp enough, then all it’s going to do is push the meat up against the walls of the grinder. Make sure that the blade is always sharp so that the cuts of meat can easily go through.
Cleaning up your meat grinder can be a tedious and time-consuming process if you don’t know what you’re doing. However, by following the steps listed above, you can make the whole cleanup process significantly easier. A meat grinder is a great tool to have in the kitchen. Make it a point to properly clean and maintain it in order to get the most out of it.


