One of the common mistakes people make when it comes to knives is thinking that honing and sharpening mean the same thing. They are, in fact, separate processes and they are also carried out for differing reasons.
In this article, we will discuss honing steel vs sharpening steel and we will also create a clear distinction between the two.
Main Differences Between Honing Steel vs Sharpening Steel
What is Honing?
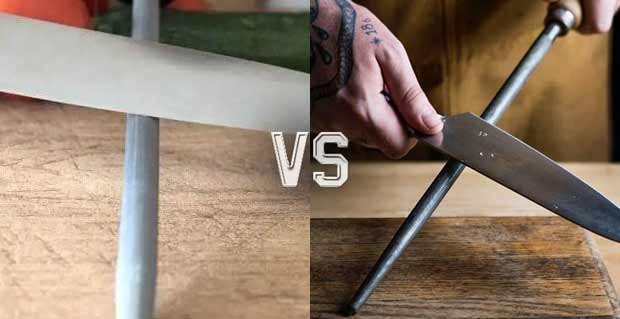
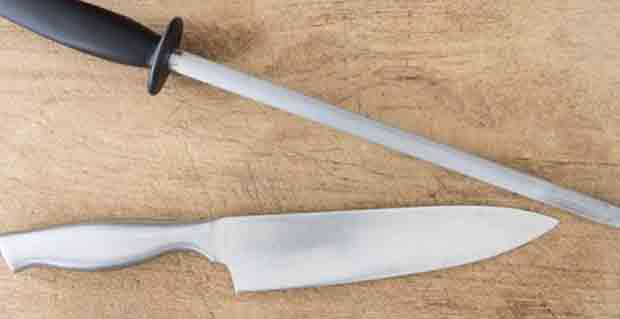
Honing is a process named after the item used to carry it out. You may have seen some chefs on TV pull out an item that looks like a steel rod and then use that on their knives. That item is known as the hone.
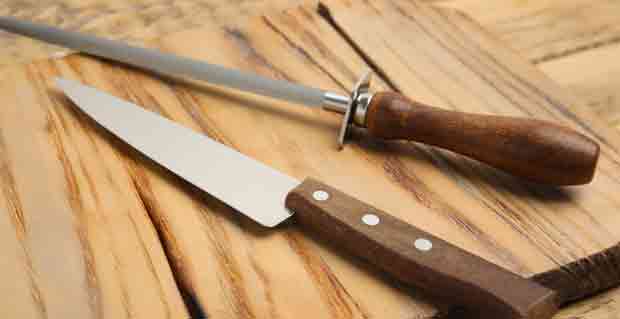
Hones are typically made out of either steel or ceramic. Some hones feature additional materials to be more effective.
People hone their knives because they want to improve the tool’s performance, but notably, the process does not usually involve the removal of metal. Honing is something you need to do to properly maintain your knives and we’ll dive deeper into what that process is like in a bit.
What is Sharpening?
You need to use a different tool if you want to sharpen your knives. More often than not, the tool of choice for many people is a sharpening stone or a water stone.
Unlike with honing, your goal when you are sharpening your knife is to remove metal. Generally speaking, sharpening is done after the honing process has already been completed.
It is recommended that you sharpen your knife on a regular basis especially if you use that tool often in your kitchen. Sharpening greatly improves the capabilities of your knife while also getting rid of some materials that are no longer needed.
Why Do I Need to Hone My Knives?
There are two sides present on every knife and they converge in the middle to form the edge. Over time and constant usage of the knife, the two sides are eventually going to move away from the edge. Once the sides have moved far enough away, you will end up with a dull knife.
Honing is basically the process of moving the metal sides back into place so as to re-form the edge of the knife. If you don’t take the time to regularly hone the edge of your knife, then you’ll just have to continue using an inferior tool in your kitchen.
You could put some extra money down to acquire a knife that features better edge retention, but even in that scenario, you will have to carry out the honing process at some point. The process of honing allows the knife to remain more useful for a longer period of time.
When Should I Hone My Knife?
Honing is a maintenance process and as such, it should be done on a fairly regular basis. If you use your knife quite often, try to schedule honing sessions at least once every four days. If you can’t hone your knife that often because of your schedule, then at least try to do it once per week.
When Should I Sharpen My Knife?
Sharpening is typically done after honing, but you don’t always have to sharpen your knife after each and every honing session. Instead, hold off on sharpening the knife until you notice that honing is no longer having an impact on it. At that point, you can do the sharpening yourself or let a pro handle that process.
The Process of Honing a Knife
If you have already seen some TV chefs hone their knives while in the middle of cooking something, then you may be thinking that there’s nothing much to it. You just have to grab the hone and swipe your knife across it a few times.
That would be oversimplifying the process to an extreme degree though. Honing may not be as complicated as brain surgery, but it’s still something you need to do carefully if you want to reap its benefits.
Also, since you are still working with a knife, it’s always best to follow the proper procedure just to minimize the odds of you getting injured in accident. As you hone your knives more regularly, you will feel more comfortable during the process itself. Even so, it would be best if you followed the right steps.
4 Steps to Properly Hone Your Knife
Step 1: Making the Proper Preparations and Familiarizing Yourself with the Process
Your knife should tell you if it’s ready to be honed, but in case you don’t have a good enough feel for it just yet, you can also use a light to guide you. Try to scan the sides of the knife for any signs of rolled metal. Go ahead and use a magnifying glass if your eyesight is not that good.
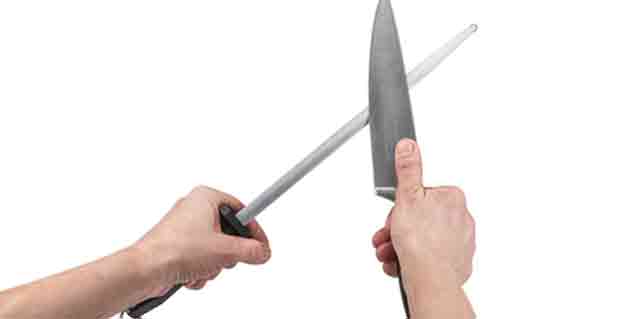
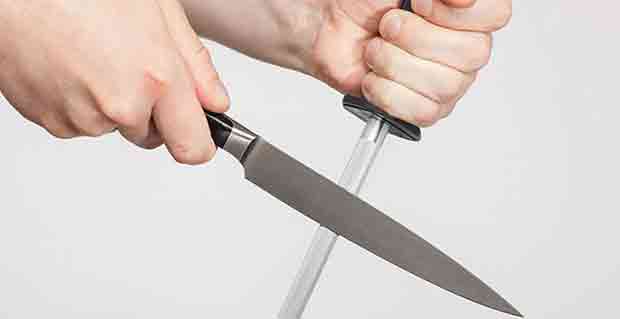
Once you’ve determined that your knife needs to be honed, take out your hone as well as a piece of cloth. Stand the hone up on the cloth and keep it vertical. Hold the hone using your non-dominant hand and keep it right around waist level.
Take your knife next and line up its heel with the top of the hone. You want to position the knife close to the handle. Hold the knife at a 20-degree angle.
Start to run the knife down the length of the hone. Move from the top of the hone to the bottom and make sure to also move from the heel of the knife all the way up to the tip. Apply a moderate amount of pressure as you move the knife across the hone.
Step 2: Repeating the Process
The next step is mostly about getting the honing process down and repeating it to achieve the best results. Make sure to work both sides of the knife five times each and also remember to life the knife away from the hone as you’re moving it up. You should also ease up on the pressure while doing this.
Step 3: Checking Your Work
It’s now time to see how well you are honing the knife. Use it to cut some paper or a soft vegetable and check if its performance has improved. If it has improved, then the honing process is done. If you fail to notice any improvements, go through the honing again but refrain from increasing the amount of pressure you’re using.
Step 4: What to do If Honing does not Work
Honing is not always going to work, especially if you have an older knife in your possession. At that point, you can either send the dull knife to a professional sharpener and hope that individual can bring back its edge or you can retire the knife and purchase a new one. The one thing you shouldn’t do is continue using a dull knife.
Can I Use Something Other Than a Honing Rod?
Maybe you’re not completely comfortable holding a honing rod in your hand because you’re fearful that something may go wrong and you’ll get hurt in that process. That’s understandable and if that’s the issue you’re dealing with then feel free to use an alternative like the water stone.
To be more specific, what you will need is a 2000 to 5000-grit water stone. Obviously, the process of working with a water stone differs quite a bit from using a honing rod, but it’s still relatively straightforward. There are even some nice bonuses to using a water stone on your knife.
First off, the water stone can also be used to sharpen your knife along with honing it so it’s a multi-purpose item. On top of that, working with a water stone also looks cool. Once you’ve mastered that process, you can look like a true knife master even if you aren’t one.
Am I Using My Knives Wrong?
Some homeowners think it’s a good idea to spend a lot of money on a new knife, especially if it’s the type of item that can be used for all kinds of applications inside the kitchen. However, after a few months or years, they may feel they did something wrong because the expensive knife they bought is no longer working as it should.
Here’s the thing: Knives dulling is just something that inevitably happens. Even if you take excellent care of your knife, if you use it a lot on a daily basis, its edge will eventually dull and there’s just no getting around that.
You’re not doing anything wrong if your once highly capable knife is no longer as sharp. If anything, it means you got plenty of good uses out of it. Once you notice the knife’s performance dropping off, go ahead and hone it or even sharpen it to bring back its edge.
There is no more helpful tool inside the kitchen than a sharp knife. If you want one constantly present in your kitchen, then you need to study up on honing and sharpening. Both processes may seem intimidating at first but they are doable. You just have to follow the right steps and focus on the tasks at hand to improve the performance of your knife.

